“When life gives you lemons, make lemonade” is something we have all heard I think. But I prefer lemon pie!

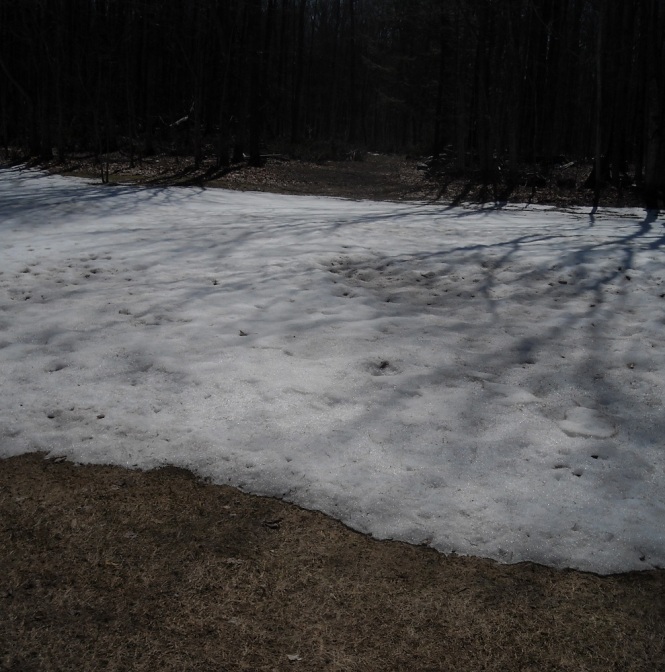
That’s new snow!

this was necessary in April!
So when life gave us snow yesterday (about 8 new inches after having almost all bare ground), I decided to try some snow dyeing! I’ve done it at guild meetings on silk and cotton(using cool temp dyes), but decided to try it with my wool dyes on wool yarn and top.
I pre-soaked my wool in warm water with vinegar added, then lifted on a mesh to drain in my colander.

yarn on wool top
Meanwhile I gathered a bucket of snow, then froze my hands carefully packing it around and on top of the wool, to a depth of about 3 inches, then sprinkled a little more snow on top.

snow

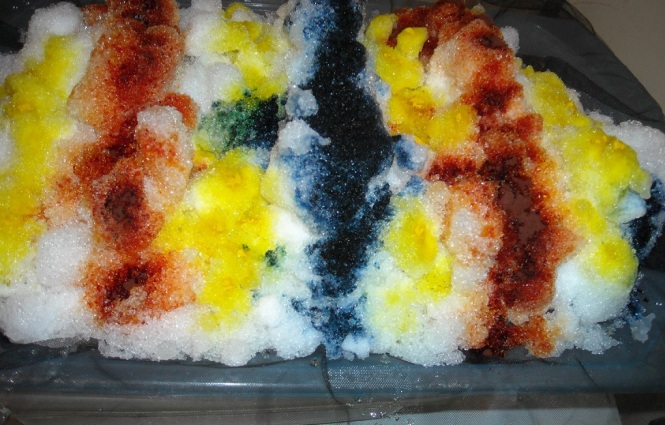
dye on snow
I sprinkled powdered dye carefully on top of the snow, using magenta, teal, and yellow.
They looked so pretty as they started to melt into the snow.

dyes beginning to migrate
The science behind snow dyeing is that as the snow melts, the different components of each dye dissolves and spreads at a different rate,remixing and being carried into the material below it. (Of course there is a pan underneath to catch the run-off.)

After the melt and before hot water bath.
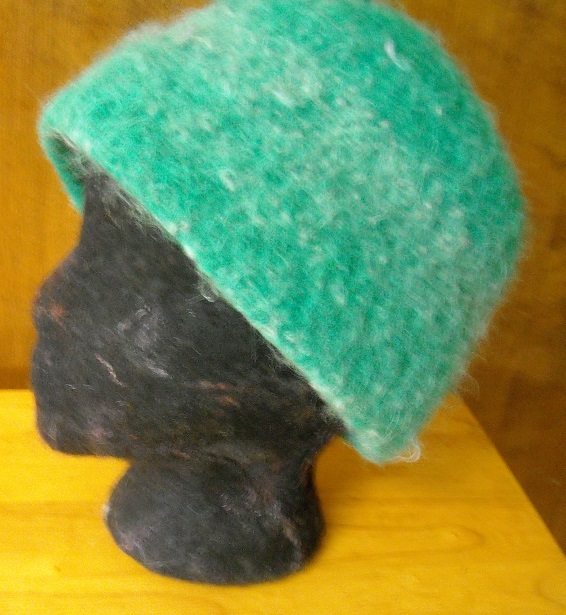
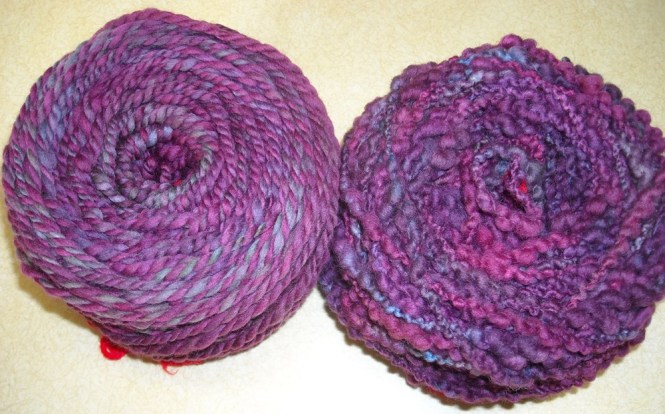
The results; The snow (in the house) melted 🙂 The resulting wool didn’t look anything like I had envisioned (I had gotten carried away and sprinkled way too much dye for the amount of wool I was using.) Since this dye is heat set I placed my lump of wool into a pan of hot water and heated it for about an hour. Lifted carefully by my trusty mesh I then put it into two rinse waters.

Actual yarn colors are deep red/burgundy, dark purple, and high-lights of blue
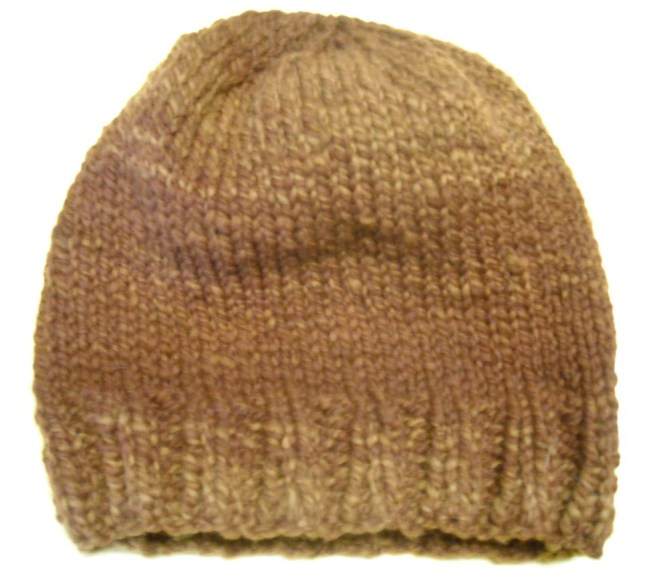
Looking at the dyed snow water drippings, I added those to my heating pan and placed more wool top in to heat. I always try to exhaust all of the dye from the water and sometimes get some interesting shades.

dye exhaust is a soft purple/mauve
Snow dyeing is fun, but I have more predictable results with my rainbow dyeing and kettle dyeing (unless I’m in the mood to play “mad chemist”, then any unexpected color may appear 🙂